Как разместить meta-теги на сайте uCoz?
Last modified:
Meta tags help you optimize a webpage for better sharing across social media, as they ensure that your posts are neatly organized and use the correct description, image, and title.
With META Tags builder, you can quickly generate the necessary meta tags for social media such as Facebook and Twitter.
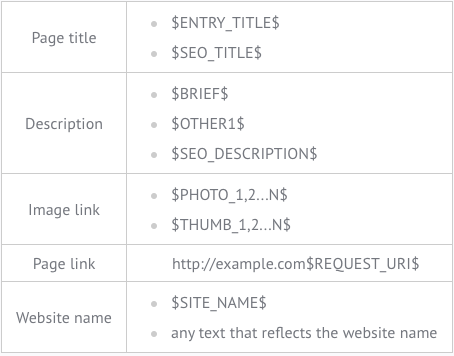
To assign unique meta tags to your posts, use $variables$ that can be found in the template of the post page (or on the product page in the Online Shop module). See the table below for allowed meta tag values:
Please note:
- Variables may differ depending on the module. For example, $BRIEF$ doesn’t work in the News module, but an additional field $OTHER1$ can be used.
- The content for a variable must be a text. The HTML code can't be used. For example, the same $BRIEF$ could have been used earlier to display HTML code.
- It's recommended to use $variables$ but not required. If you doubt, fill out any of the fields with the preferred text.
Now let’s take a look at how to add variables into the builder and place meta tags onto a website.
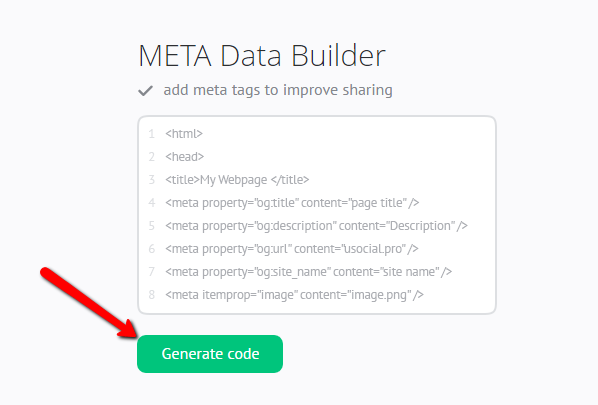
Go to the home page https://usocial.pro/en and under the META Data Builder block, click "Generate Code":
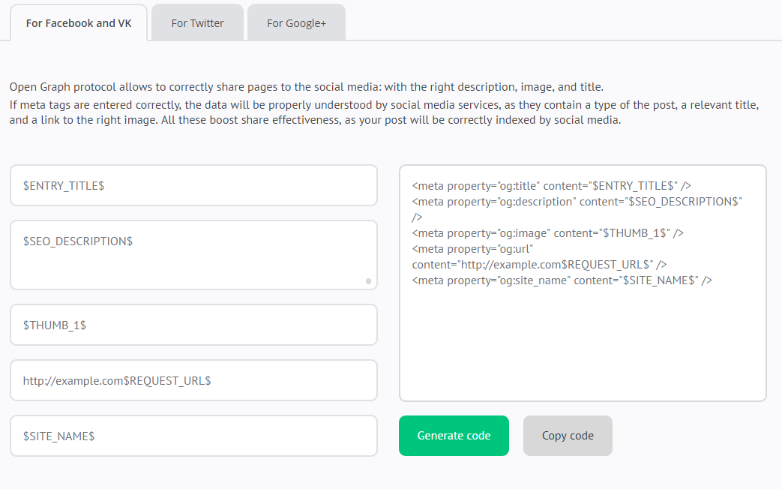
You will be taken to the page where meta tags for Facebook are generated:
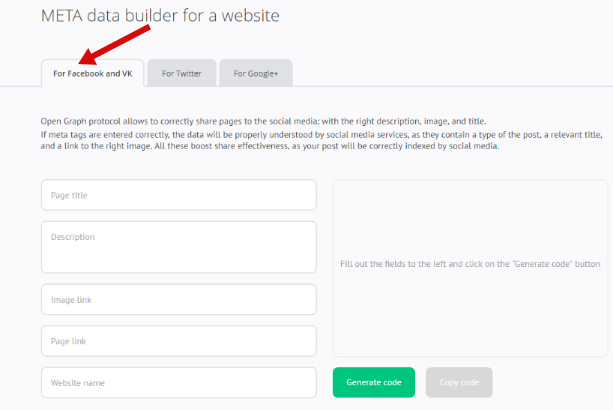
For Facebook
Fill out the fields with the data that was listed in the table above. Click "Generate Code":
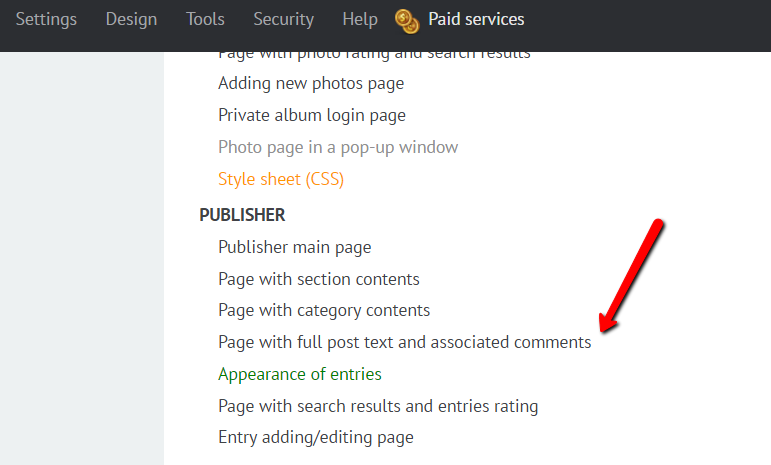
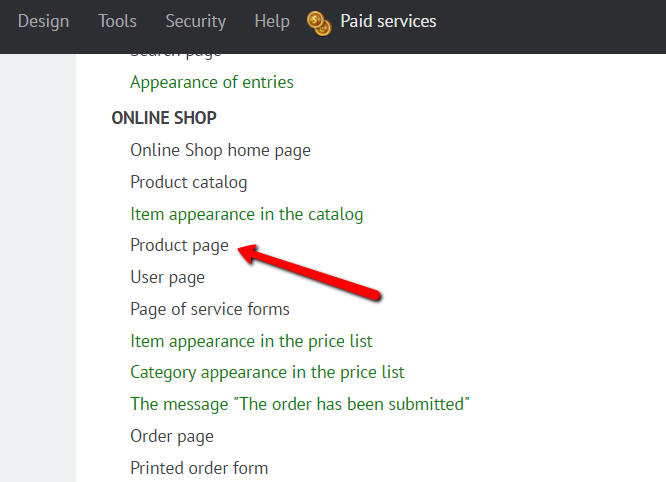
Add this code into the template of the post page. Log in to your uCoz Control Panel and from the main menu choose Design -> Design management (templates). Search for the module that you need and select a template of the post (product) page:
Add the generated code between <head> and </head>, for example like it’s shown here:
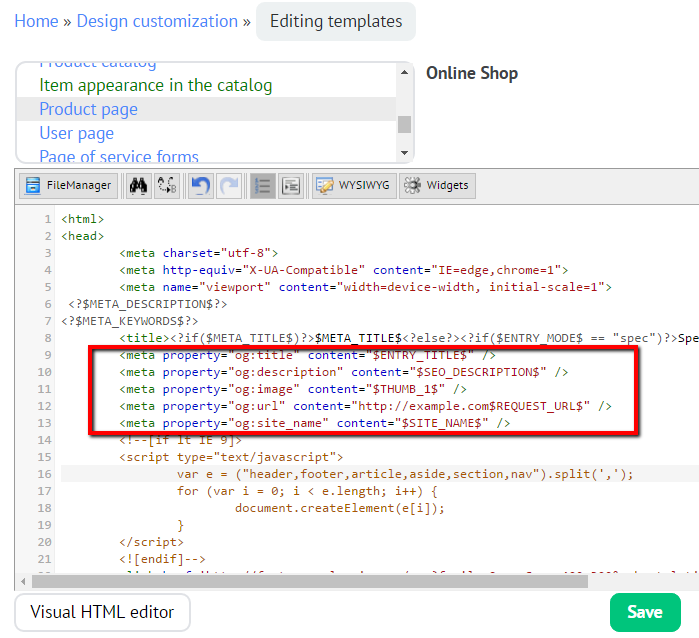
Click "Save".
For Twitter
Under the "For Twitter" tab, you can generate meta tags for this social network:
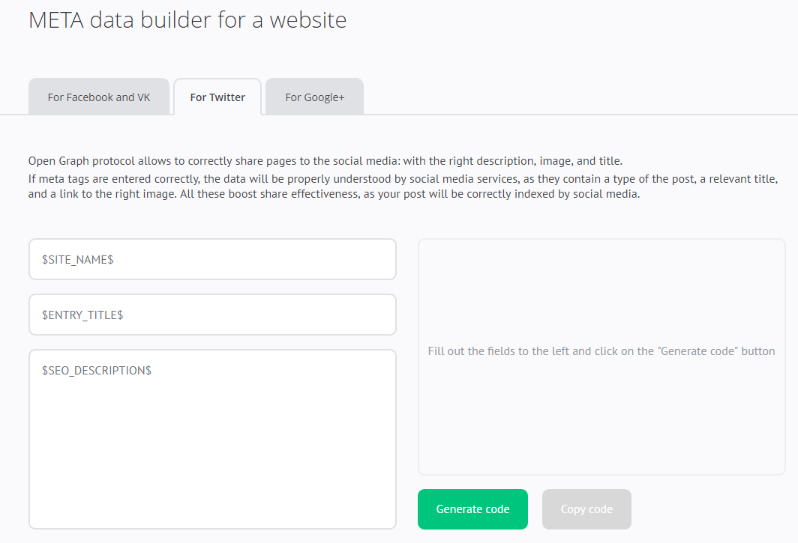
Please note that if you have already added meta tags for Facebook, they will be automatically filled into the corresponding fields. All you need to do is click "Generate Code":

After that, you can add the code to the template of the page. See the example below:
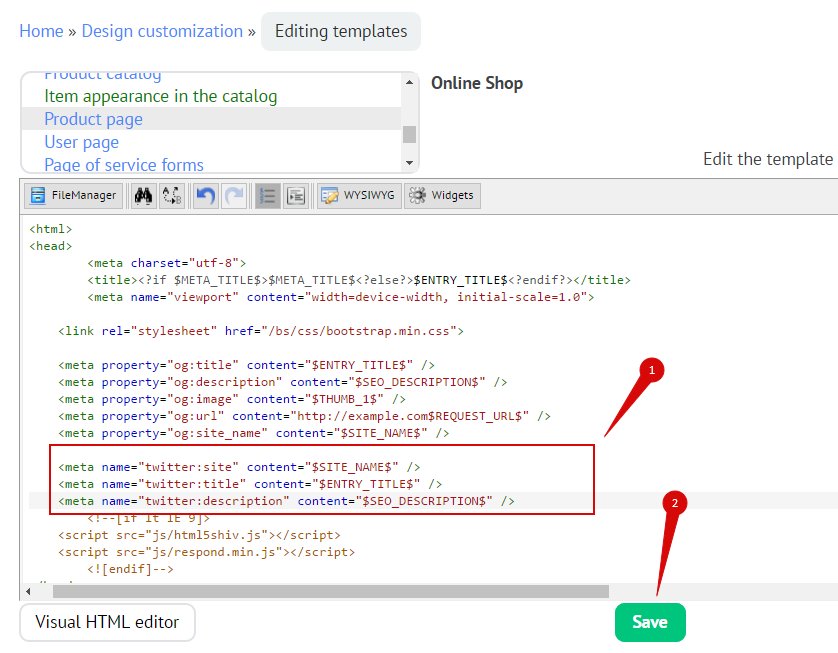
Don't forget to click "Save".